Tables
A table is useful for a list of participants, a statement, a schedule, or a neat signature block: "Director — Signature — Full Name".
How to insert a table
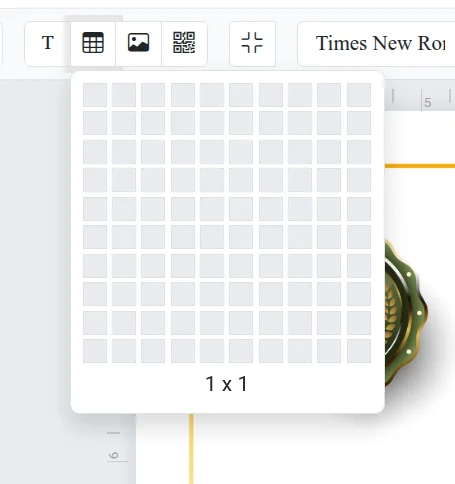
- Click the table button on the toolbar or go to Insert → Table.
- Hover your mouse over the grid and select the size — up to 10 columns and 10 rows.
- Click, and the table will appear on the page.
Rows and columns
Click on a cell and open Table actions on the toolbar:
- Insert row above or below;
- Insert column left or right;
- Delete row or Delete column.
Text in cells is formatted just like in a regular block: font, size, color, and alignment.
Borders and padding
- Border style, Border width, Border color — these change the table lines. To create an "invisible" table for neat alignment, set the border width to "0".
- Cell padding — the distance from the text to the cell edge, set separately for horizontal and vertical padding.
Tables and creating from a list
You can insert variables into cells, for example, {ФИО}. Then, when creating from a list, they will also be populated.
Troubleshooting
- Table buttons don't appear — click inside any cell.
- The table goes beyond the edge of the page — reduce the font size or cell padding, then drag the table by the edge of its frame.